


Thursday, June 10, 2021 - 00:46
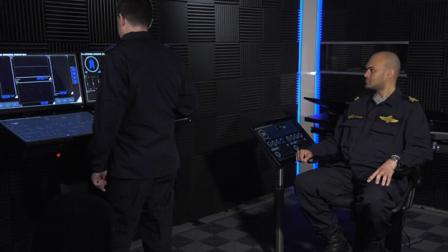
Previously tactical officer Neeraj Anahira took us through the process of achieving an EMDAR track on an opponent vessel, known as a ‘hunt’. In this post he describes the ‘kill’ – preparing and firing a torpedo that hits its target (without putting his own vessel in danger).
I’ve got a track on the other ship, but as I feared I got a little too close. Their EMDAR shack has obviously picked something up, because now they’re moving off their search pattern and towards me (time index 12). I’m pretty sure I didn’t give them enough for a track of their own, so I’ll remain on course to keep my EM down and hope they lose me.
The other ship sweeps around trying to spot me, but the distance I’ve been putting between us has worked. Once I’m far enough out, I’ll begin coming about to follow them (time index 13).
While there’s still enough range to minimise detection I’ll also increase my speed, which will help catch them and give me a better CV (closing velocity) later on for launch.
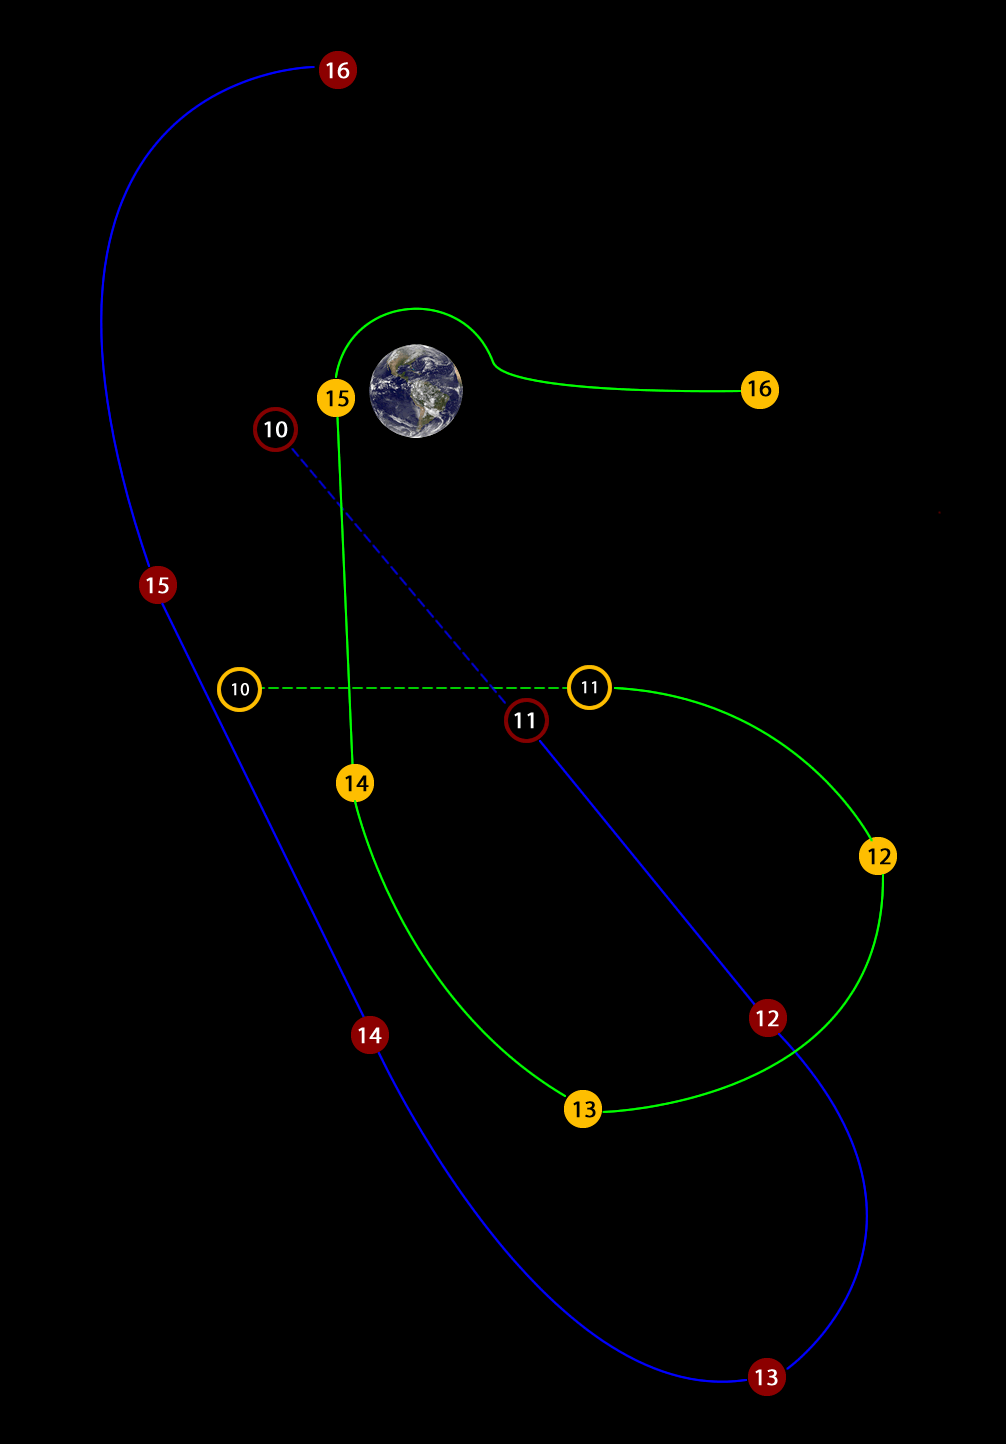 As I come up behind the other ship I consider firing a torp (time index 14). The range is good, but because I’m following them the CV will be at its lowest. I’d prefer to be firing when their course is perpendicular to ours – known as “crossing the T”. That increases the CV and limits their options for return fire.
Soon I realise the other ship is not resuming their search pattern. Instead, their course is taking them much closer to the planet (time index 15). I suspect they’re going to try a quick run around the planet to put it between their ship and mine - which means I could lose my track. I may have to risk increasing speed to make sure I can stay with them but looking at the tactical overlay I decide I have just enough speed to keep contact.
Part way around the planet their course breaks away. They must think they’ve lost me and are going to resume their search pattern (time index 16). If so, I can be in a great position to launch a torp just after they make their turn at the bottom of the hexagonal search pattern. If I maneuver onto the heading I need early I can close to a good range with minimal output from the engines, minimising any chance of being detected.
I ask tactical for a firing solution based on that scenario. The numbers are good, especially since I’m crossing the T, which increases the CV. I’ll also be positioned on their starboard quarter which will hamper their ability to return fire quickly.
That’s because vessels like Endeavour don’t have aft-firing torpedo tubes due to the wake produced by the main engines. A forward-launched torpedo can maneuver itself around towards a target on the vessel’s quarter but this takes time, which means I can hold my course and keep the wire active as long as possible.
 Not long after they make their next turn (time index 17) I order the torpedo fired. Unsurprisingly (given the range) they detect the launch and maneuver away from it, but they don’t have enough room to escape. They fire off a couple of torpedoes but because they’re fired forward and their launch velocity is slower than my current speed, I have time before I have to maneuver away.
Eventually I have to change course and break the wire in order to keep a safe distance from their torps, but with their engines running hot to try and escape my torp has plenty to track. Within a couple of minutes I have my hit and the sim is won.
- Log in or register to post comments
Concept Site
Immersive sci-fi and how to join the adventure
Crew Site
Information and tools for ISDC crew members


